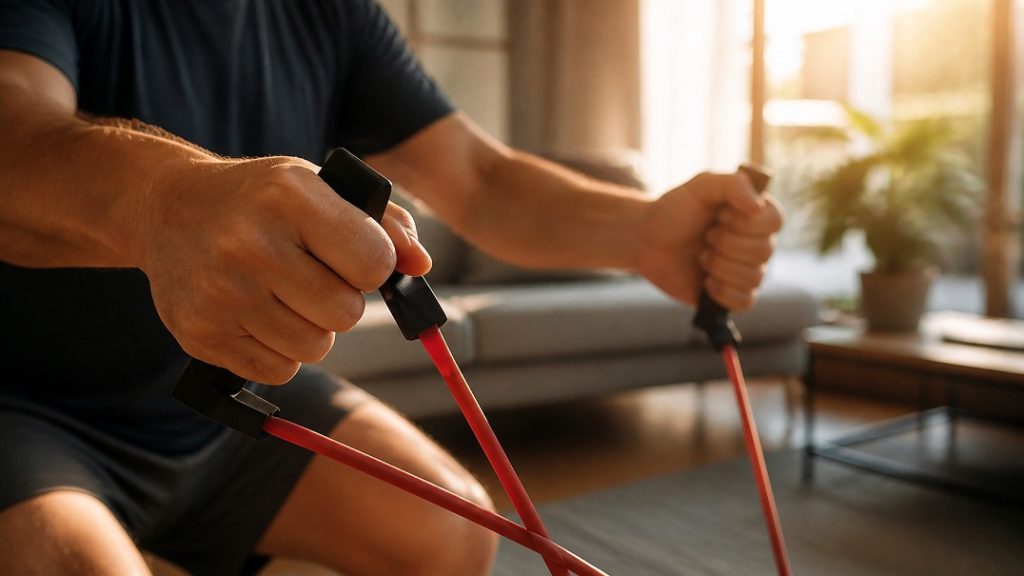
A gym membership can be a genuine barrier for a lot of people, whether due to cost, time, transportation, or simply feeling out of place in a typical commercial gym environment. The encouraging news is that a gym is not required to build real strength. Bodyweight exercises and a basic set of resistance bands, both usable in a living room or bedroom, can provide an entirely effective training stimulus, particularly for someone in the earlier stages of a strength training routine.
Why Home-Based Training Works
Muscle responds to a training stimulus, not to a specific brand of equipment or an impressive gym setting. Research comparing resistance band training to traditional weight machines in older adults has found comparable improvements in strength, which supports the idea that bands are a legitimate training tool rather than a lesser substitute. Bodyweight exercises work on the same principle, using your own body as the source of resistance, and can be made progressively more challenging as you get stronger.
What You Actually Need to Get Started
A basic setup for home training is inexpensive and minimal. A set of resistance bands with a few different resistance levels, often sold together as a set, a sturdy chair without wheels, and enough floor space to lie down and extend your arms and legs comfortably are enough to perform a complete routine. A yoga mat adds comfort but is optional, and a pair of light dumbbells or filled water bottles can supplement bands if you want more variety.
A Sample Full-Body Home Routine
The following routine covers the core movement patterns discussed in our guide to resistance training basics, adapted specifically for bodyweight and resistance bands. Perform this two to three times a week, with a rest day between sessions.
| Exercise | Movement Pattern | Suggested Sets and Reps |
|---|---|---|
| Chair Sit-to-Stand | Squat | 2 to 3 sets of 10 to 12 |
| Standing Band Hip Hinge | Hip Hinge | 2 to 3 sets of 10 to 12 |
| Wall or Incline Push-Up | Push | 2 to 3 sets of 8 to 12 |
| Seated Band Row | Pull | 2 to 3 sets of 10 to 12 |
| Standing Band Carry or Walk | Carry | 2 sets of 20 to 30 seconds |
| Standing Single-Leg Balance | Balance | 2 sets of 15 to 20 seconds per side |
How to Perform Each Exercise Safely
Chair Sit-to-Stand
Sit toward the front edge of a sturdy chair with feet flat on the floor, then stand up fully without using your hands if possible, and lower back down with control rather than dropping into the seat. Using your hands for support is a reasonable modification while building strength and confidence with this movement.
Standing Band Hip Hinge
Stand on the middle of a resistance band with feet hip-width apart, holding one end in each hand. Bend forward at the hips, keeping a relatively flat back, then return to standing by driving your hips forward. Keep the motion controlled rather than rushed.
Wall or Incline Push-Up
Place your hands on a wall or a sturdy elevated surface like a countertop, walk your feet back to create an angle, and lower your chest toward the surface before pushing back up. A steeper angle, such as using a wall, is easier than a more horizontal position like a countertop, allowing you to adjust difficulty as you progress.
Seated Band Row
Sit on the floor with legs extended, loop a resistance band around your feet, and hold one end in each hand. Pull your elbows back, squeezing your shoulder blades together, then return with control. This can also be performed seated in a chair with the band anchored to a doorknob or similar sturdy point.
Standing Band Carry or Walk
Hold a resistance band, light dumbbell, or filled water jug in each hand and walk slowly across a room, focusing on standing tall and keeping your steps controlled. This trains grip strength and core stability at the same time.
Standing Single-Leg Balance
Stand near a wall or counter for safety, lift one foot slightly off the ground, and hold the position, using the nearby surface for support as needed. This directly targets the stability piece of exercise that resistance training alone does not fully address.
Progressing Your Home Routine Over Time
As these exercises start to feel more manageable, typically after four to six weeks of consistent practice, progression can come from several directions: using a band with more resistance, increasing repetitions or sets, slowing down the movement to increase time under tension, or reducing the support you rely on, such as moving from a wall push-up to an incline push-up on a lower surface. Small, steady increases in difficulty tend to work better over the long run than large jumps that risk poor form or injury.
Adapting the Routine to Your Living Space
Not every home has the same amount of open floor space or the same furniture available, and the routine above can be adjusted to fit what you actually have on hand. A hallway or a cleared section of carpet is enough space for most of these exercises. If a sturdy chair without wheels is not available, a low, stable step or the edge of a couch can sometimes substitute for the sit-to-stand exercise, though a proper chair remains the safer and more consistent option. For resistance bands specifically, looping a band around a sturdy railing, a heavy piece of furniture, or a closed door using a door anchor accessory, which is typically sold alongside band sets, opens up additional exercise variations beyond what is listed here.
Staying Motivated Without a Gym Environment
One underappreciated challenge of home-based training is the lack of external structure that a gym or class environment naturally provides. A few strategies can help maintain consistency: setting a specific, recurring time for workouts rather than leaving it open-ended, keeping your bands and any other equipment visible rather than stored away out of sight, and tracking your workouts, even with a simple paper log noting the date and what you did, to create a visible record of consistency over time. Some people also find it helpful to follow along with a free instructional video during the first several weeks, simply to have an external cue for pacing and form until the routine feels familiar enough to perform independently.
Where to Go From Here
If joint pain affects any of these movements, our guide to strength training with joint pain or arthritis offers specific modifications that pair well with this routine. For guidance on how often to train and how to progress volume responsibly, see our article on training frequency and volume after 50.